How to mail merge a PDF file and send it as an email attachment

Create personalized PDFs from one template and one Excel spreadsheet. Follow these 5 easy steps to automatically fill every PDF and optionally send each file as an email attachment.
Quick overview
Mail merge a PDF when you need to create many individualized documents (invoices, contracts, certificates, applications) from a single PDF template and a spreadsheet of data. MailMergic fills placeholders in your template using values from your Excel file and generates one PDF per row.
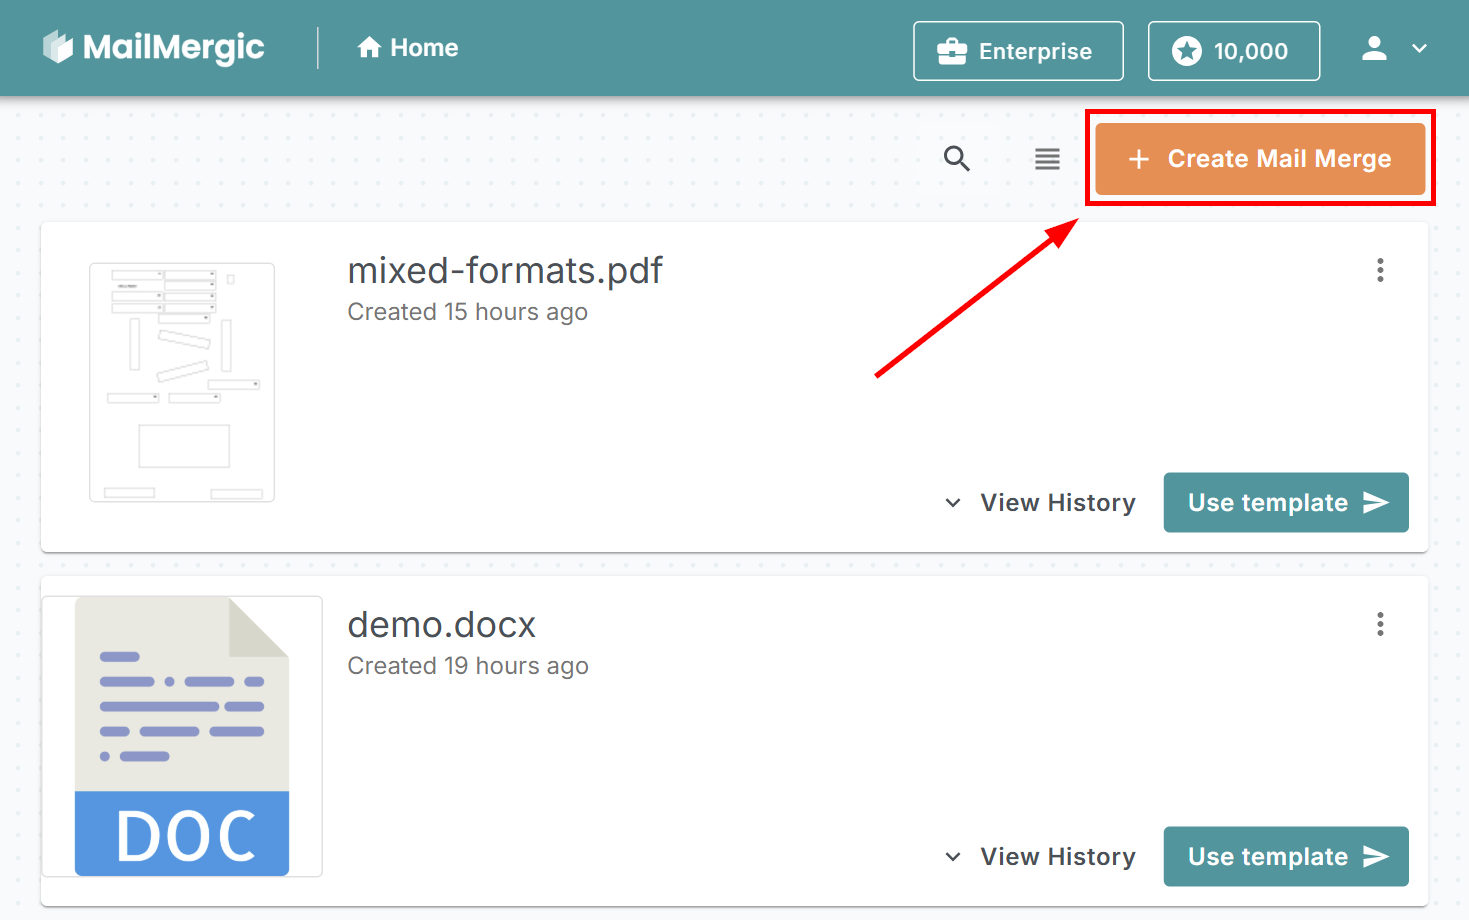
In this article we will show you how to use MailMergic to automatically fill a PDF file in five easy steps. Log in to your account and create a new Mail Merge with a click on “Create Mail Merge”:
Step #1: Upload your PDF file
In the first step, drag and drop or click the drop zone to upload the PDF form (or Word file) you want to use as a template. It does not matter whether the PDF has interactive form fields or not.
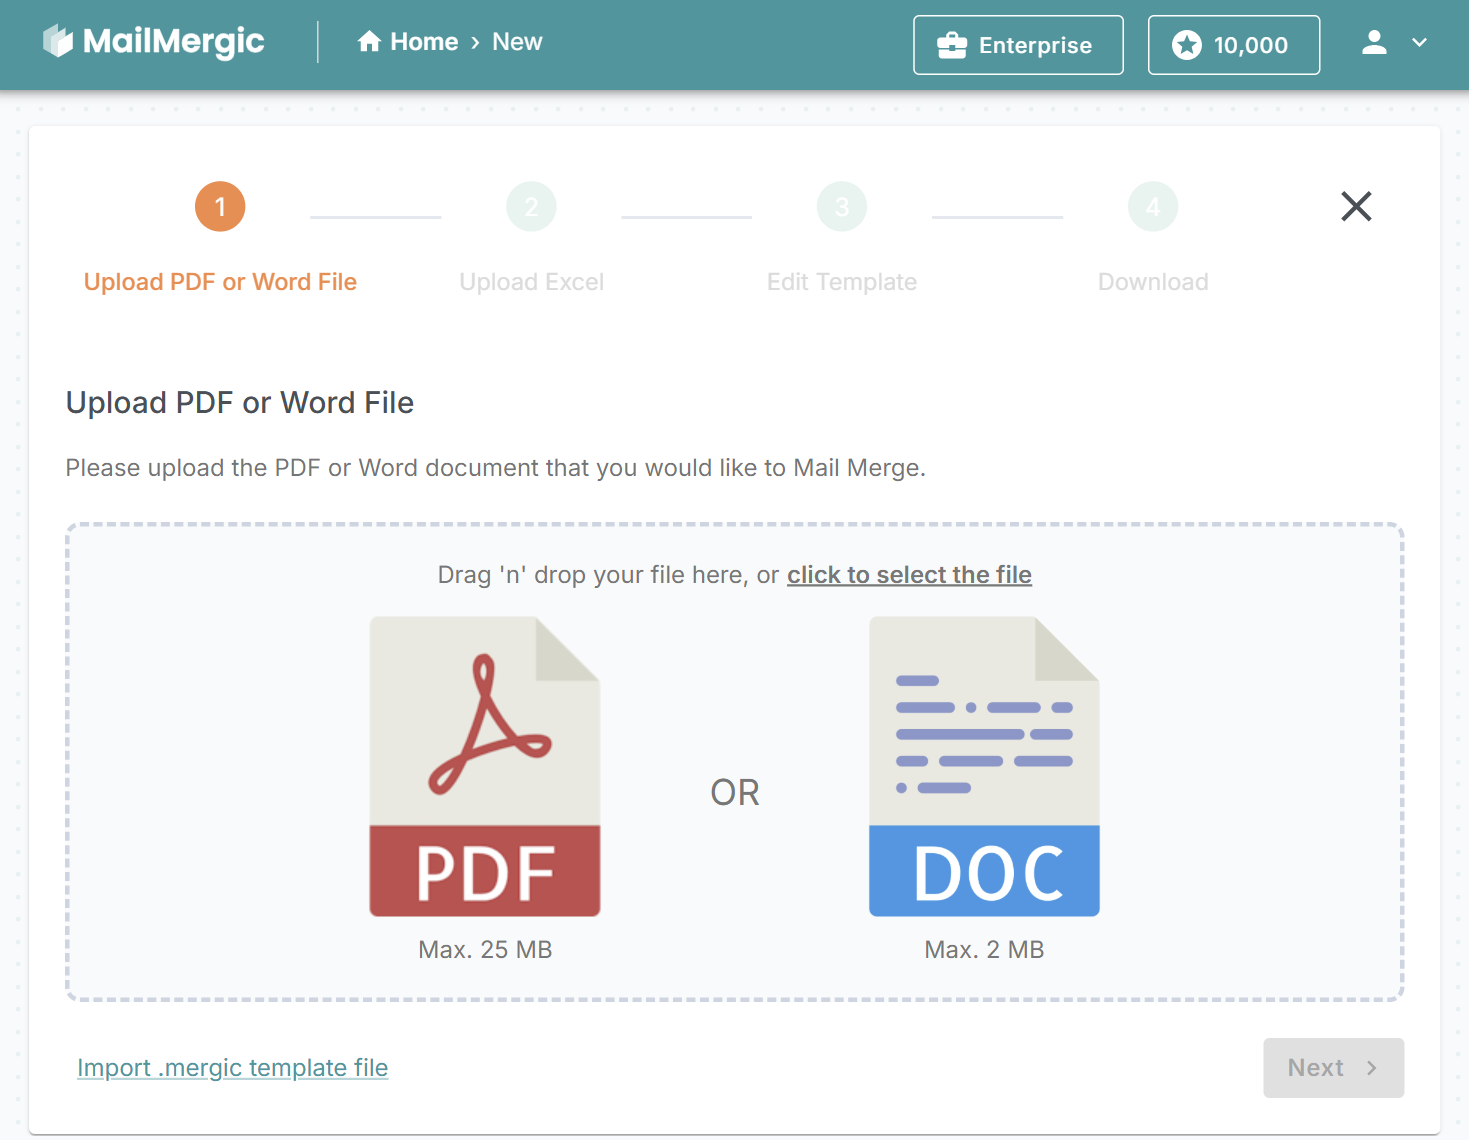
As soon as you uploaded the PDF file, you will be navigated to the second step.
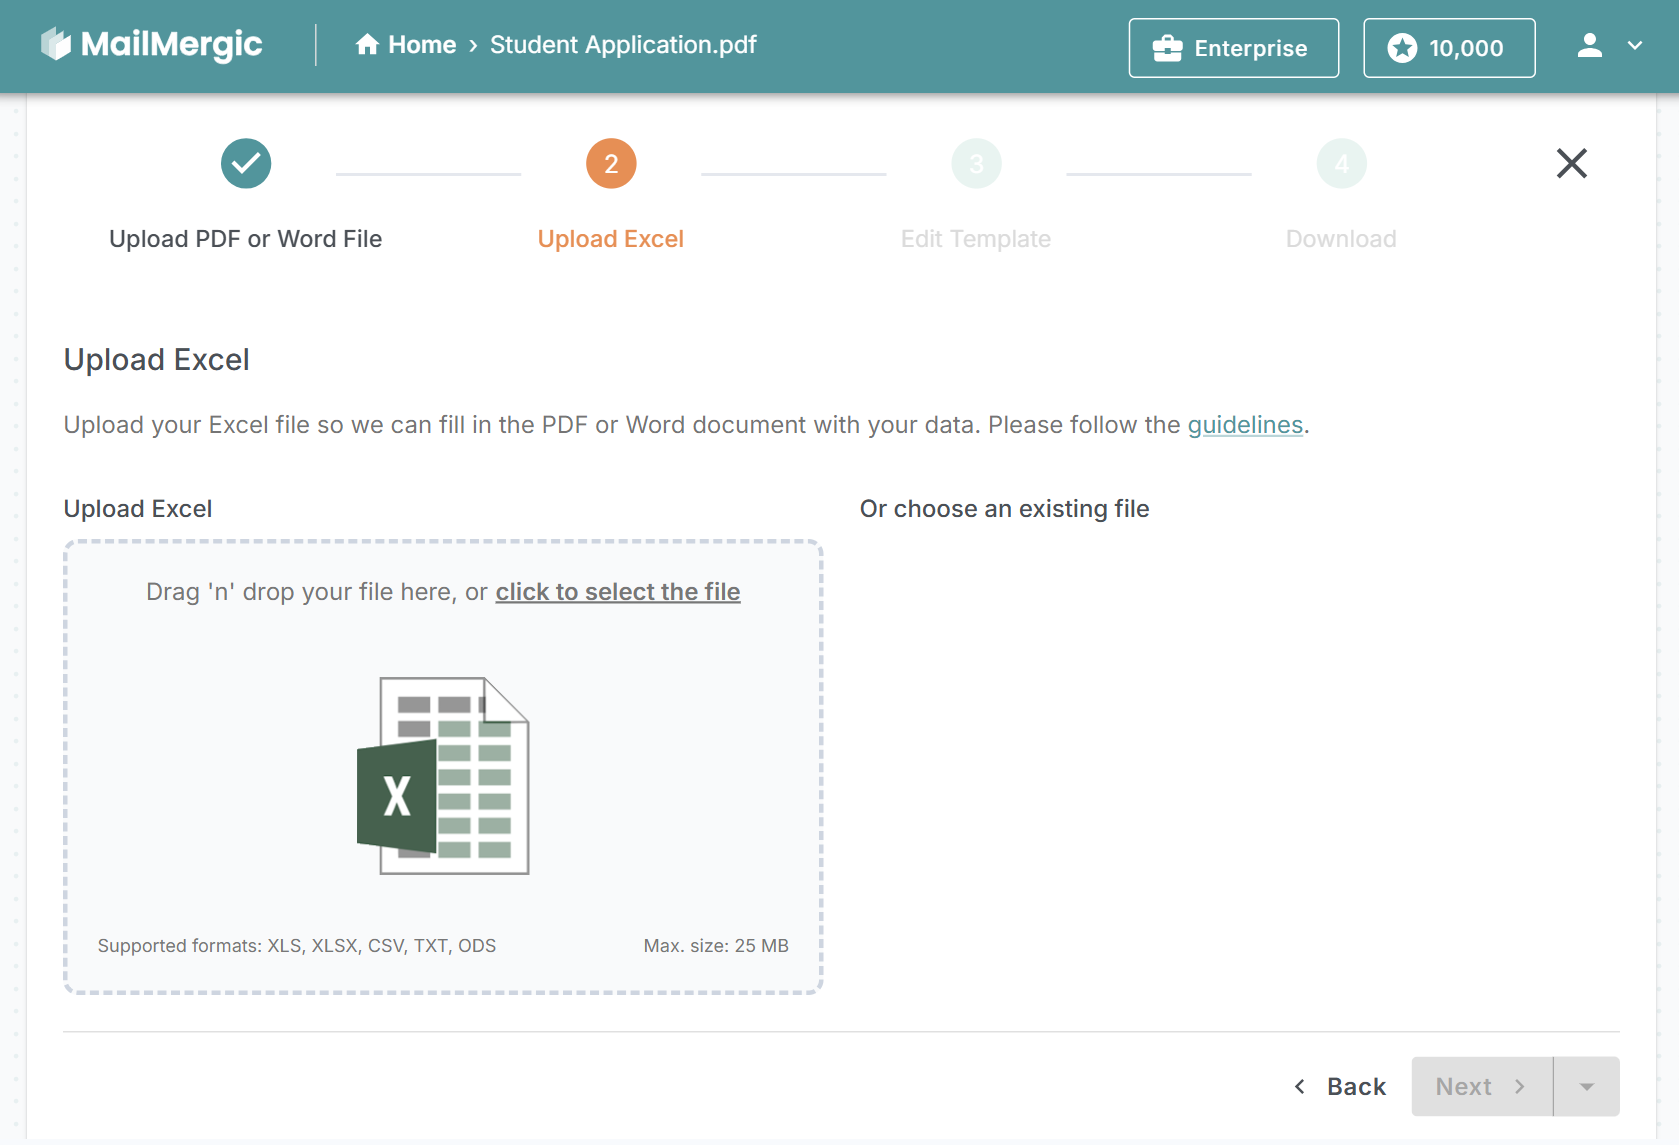
Step #2: Upload your Excel spreadsheet
Upload the Excel file that contains the data to mail merge. Put the relevant data on the first sheet and make sure every column has a clear column heading. These headings become the placeholder names you will use in the editor.
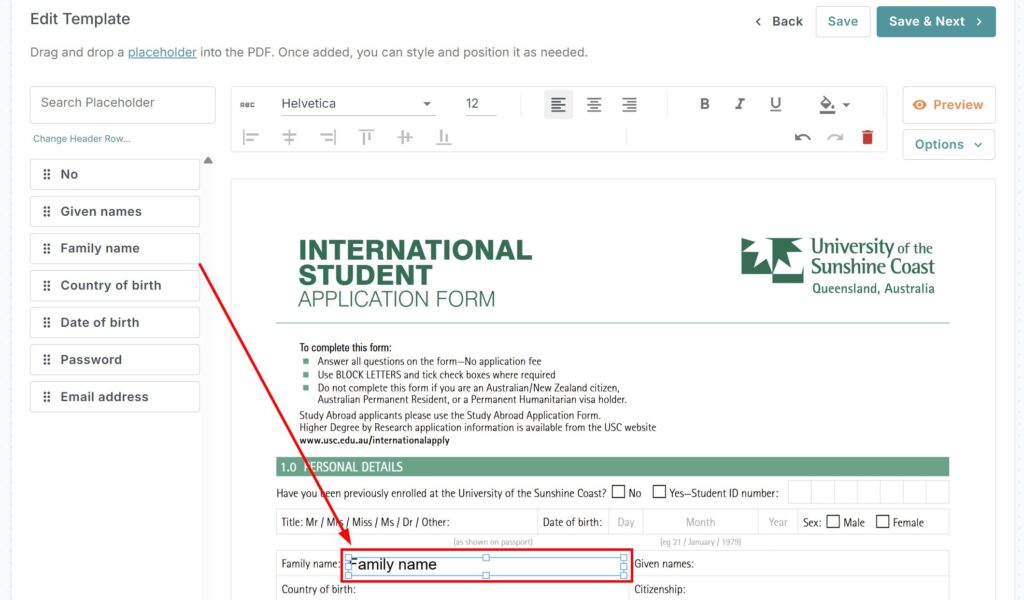
Step #3: Drag and drop placeholders onto your PDF
The editor shows all column headings as placeholders. Drag a placeholder onto the PDF where that value should appear. Resize, align, and format each placeholder using the toolbar. You can search placeholders, change which row is the header, and preview the result with real data. Keep the layout simple for best results.
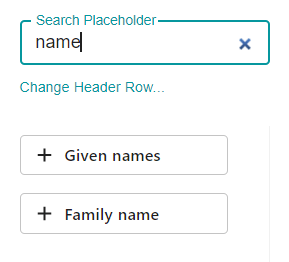
Use the search field to quickly find the placeholder you need:
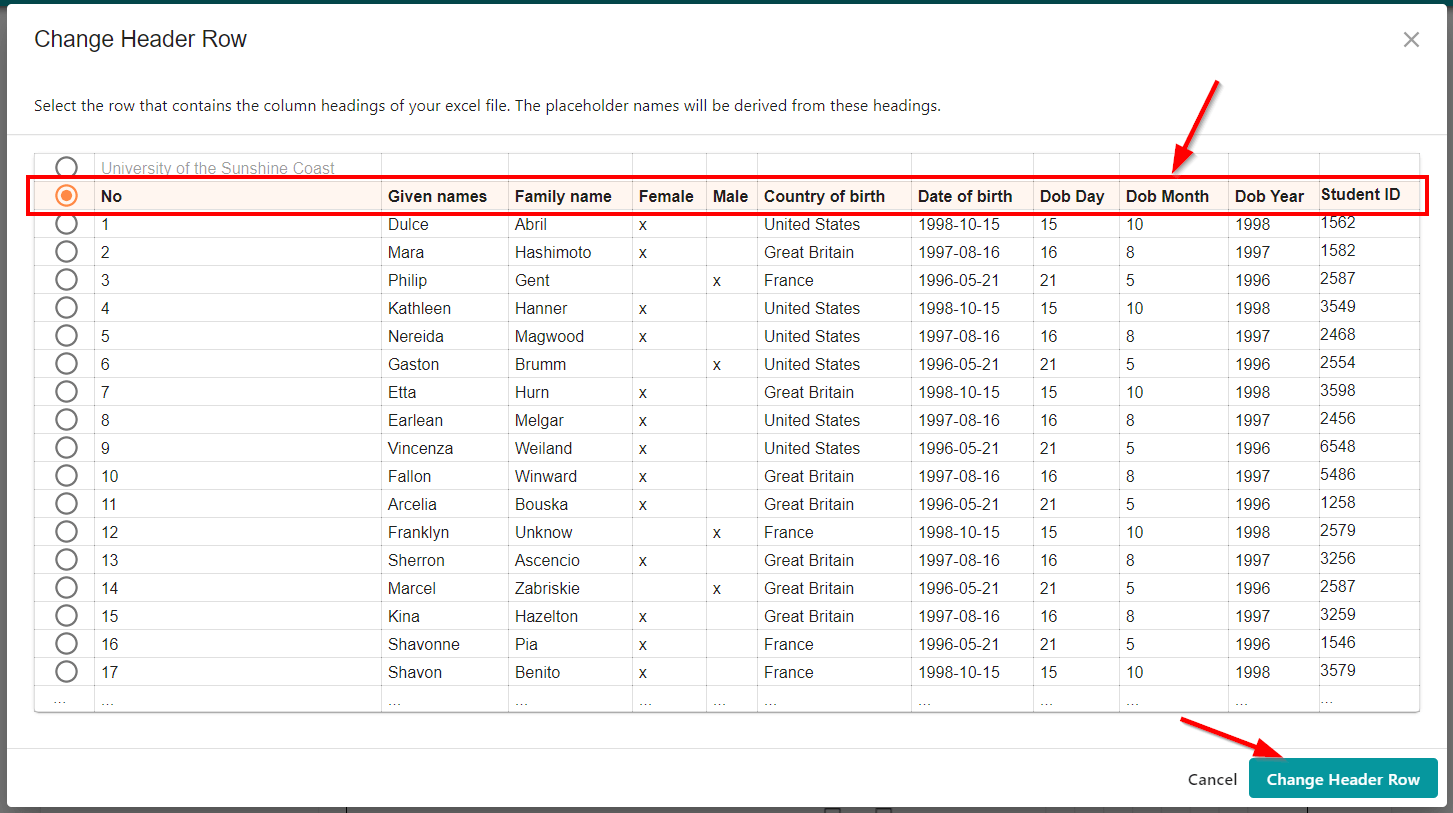
If no placeholders appear, or if they look incorrect, click the link Change Header Row…. A preview of your Excel sheet will open. Select the row that actually contains your column headings, then confirm with Change header row. The placeholders will automatically update based on your selection.:
The toolbar
Drag each placeholder to the right spot on your PDF, then use the toolbar to adjust its size, style, and appearance.
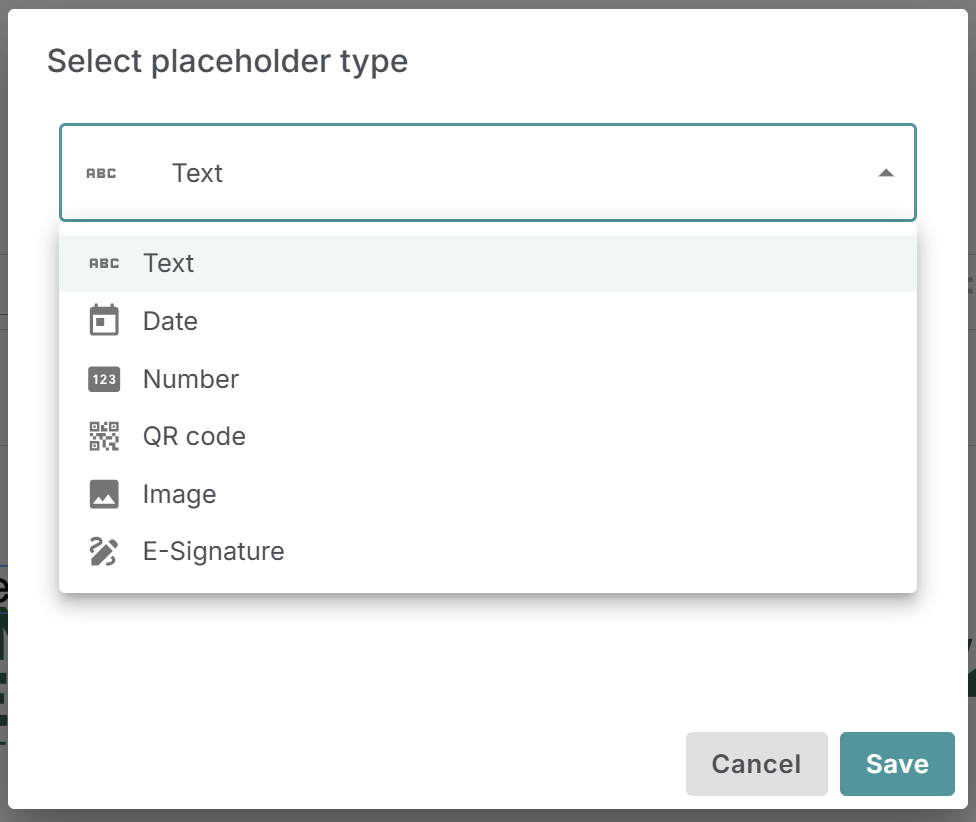
- Placeholder Type: Switch a placeholder from text to a QR code, E-Signature, image, or other available formats.
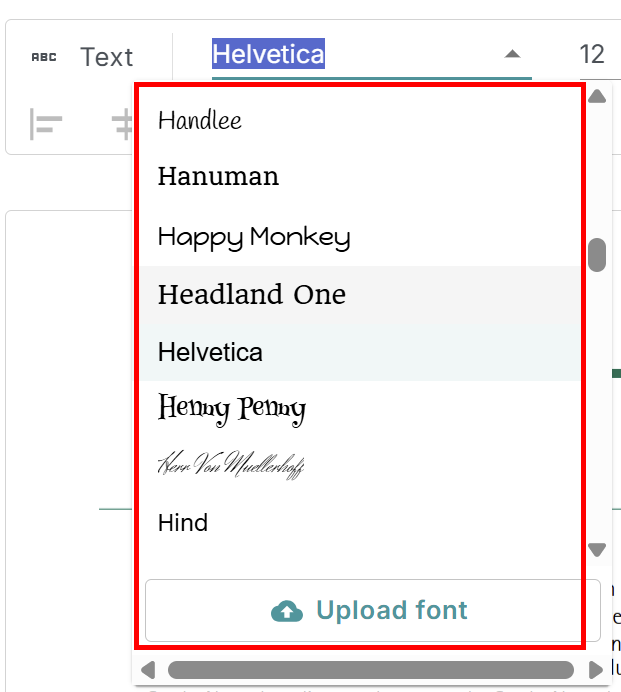
- Font Family: Pick from over 600 available fonts to style your placeholder text.
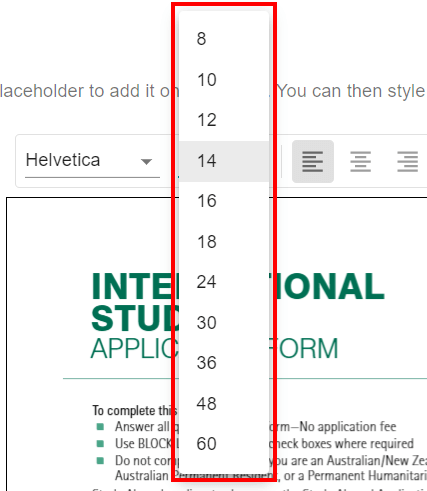
- Font Size: Set the text size for your placeholders by selecting a preset option or typing in a custom value.
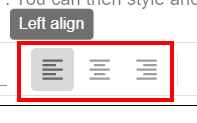
- Text Alignment: Align placeholder text to the left, right, or center.
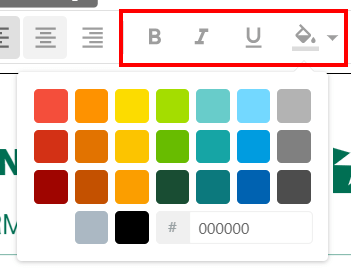
- Text Color: Pick from predefined colors or enter a custom hex code for your placeholder text.
- Delete Placeholder: Click the red trash can to remove a placeholder from your PDF.

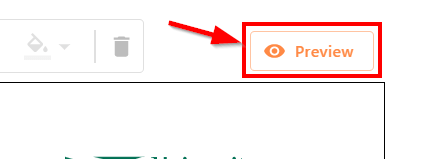
Preview your data
Click Preview to see how your generated PDFs will look before finalizing.
The placeholders in the editor will be automatically replaced with the corresponding data from your Excel file.
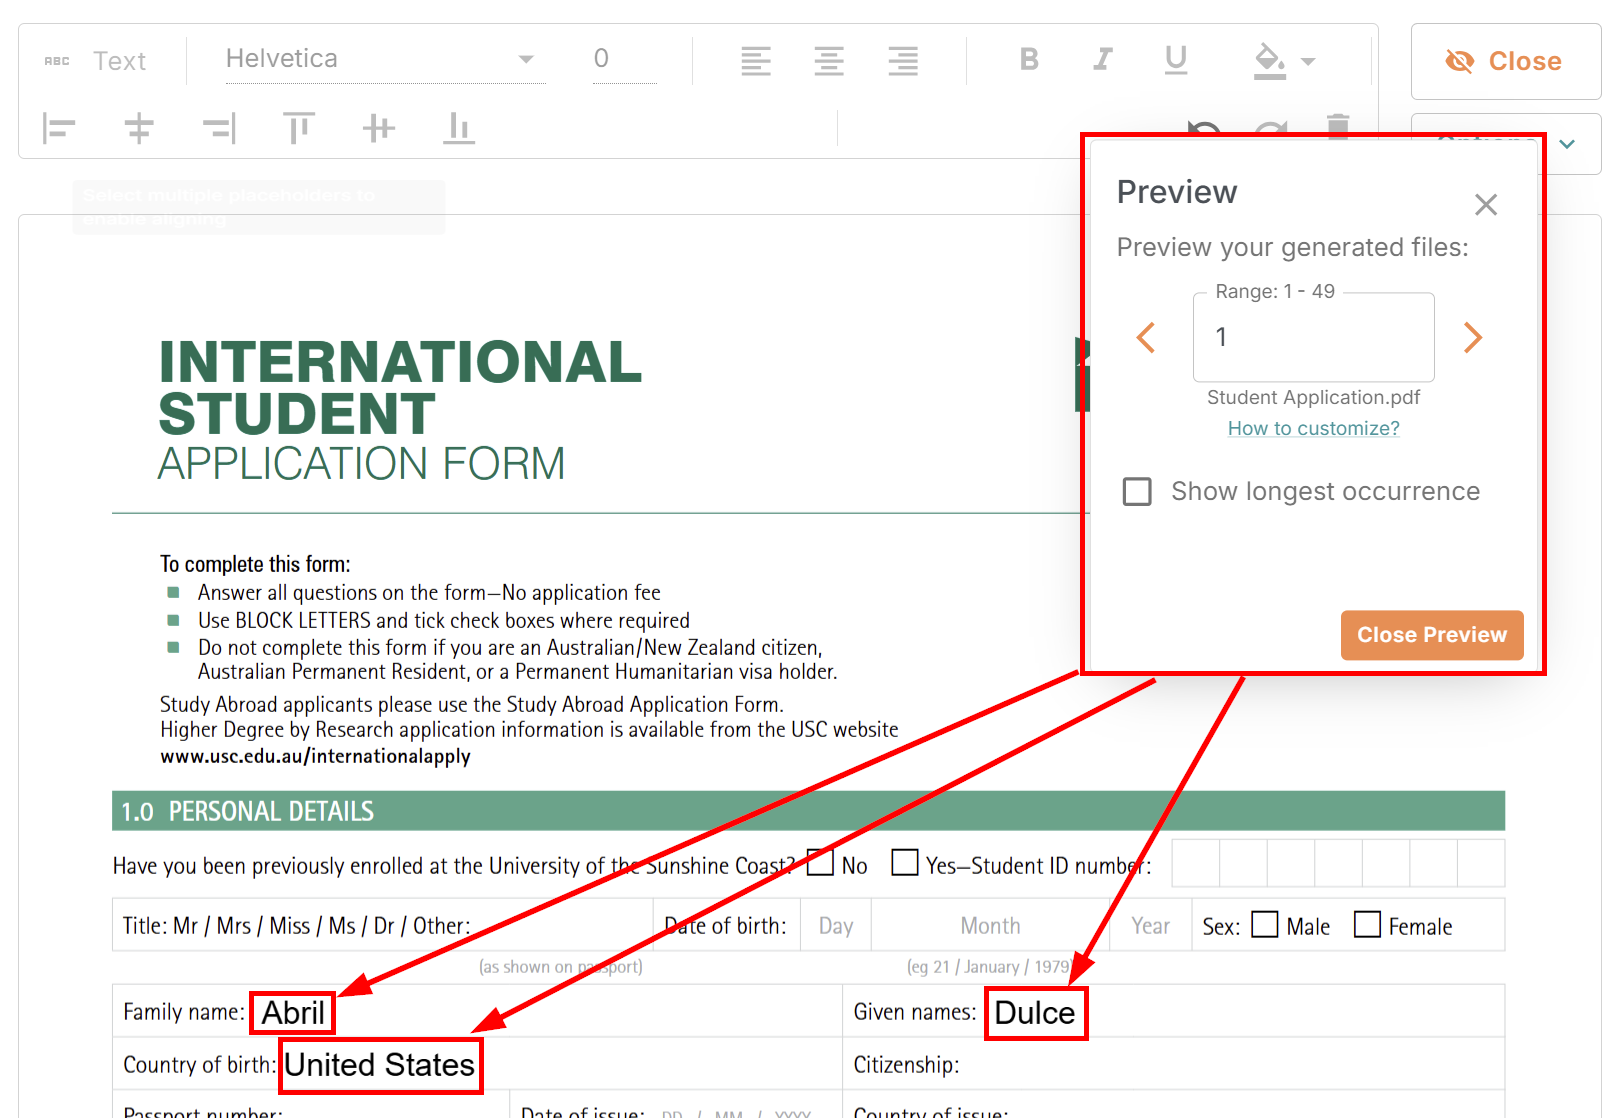
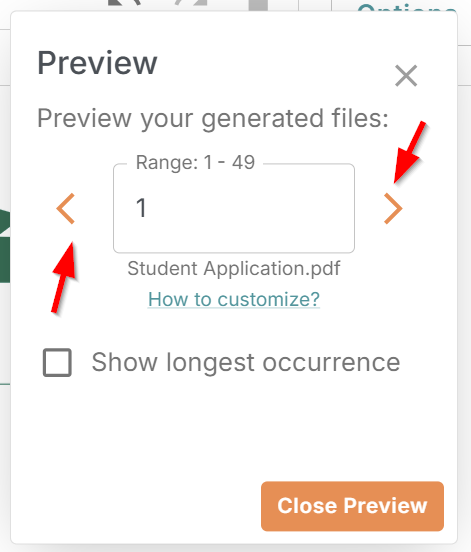
Browse the individual PDF files, each one is automatically filled with data from a row in your Excel file.
Check that all placeholders are positioned and formatted correctly. When you’re satisfied, click Save & Next to continue.
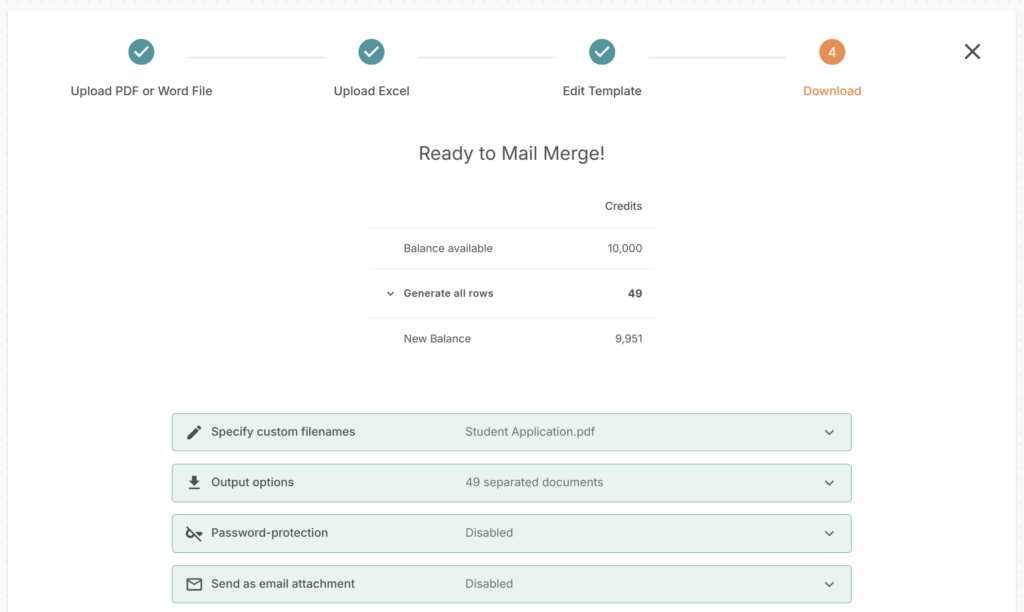
Step #4: Choose output and email options
You will now be redirected to the fourth and final step:
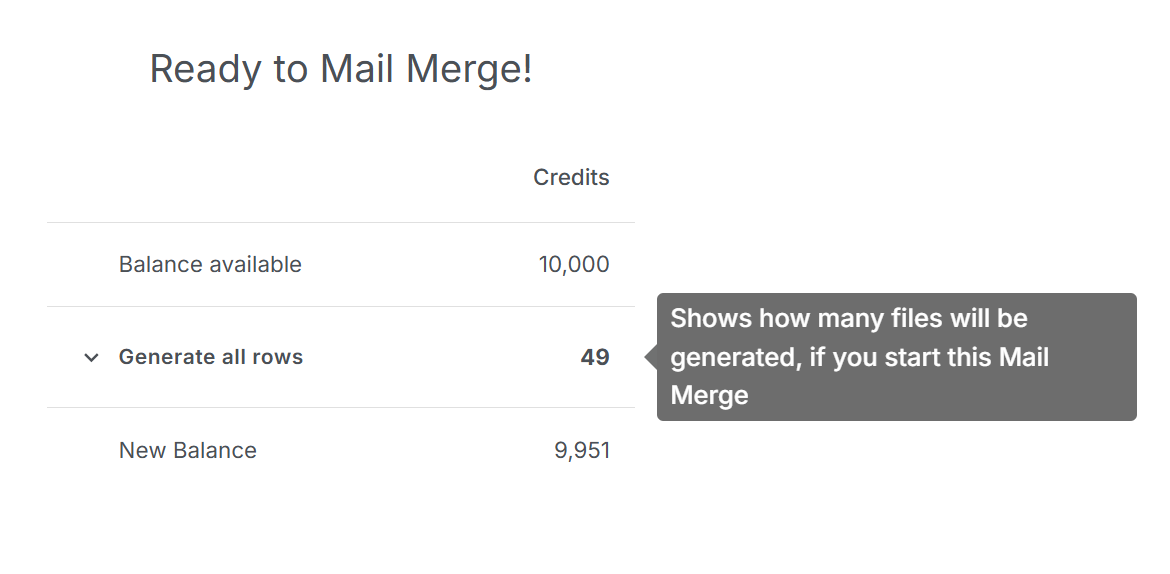
Your Balance
This table shows how many credits you’ll use for the mail merge and how many are remaining. One credit generates one PDF for a single row in your Excel spreadsheet. The always-free plan includes a monthly allowance of 100 free PDFs, and you can upgrade anytime if you need more.
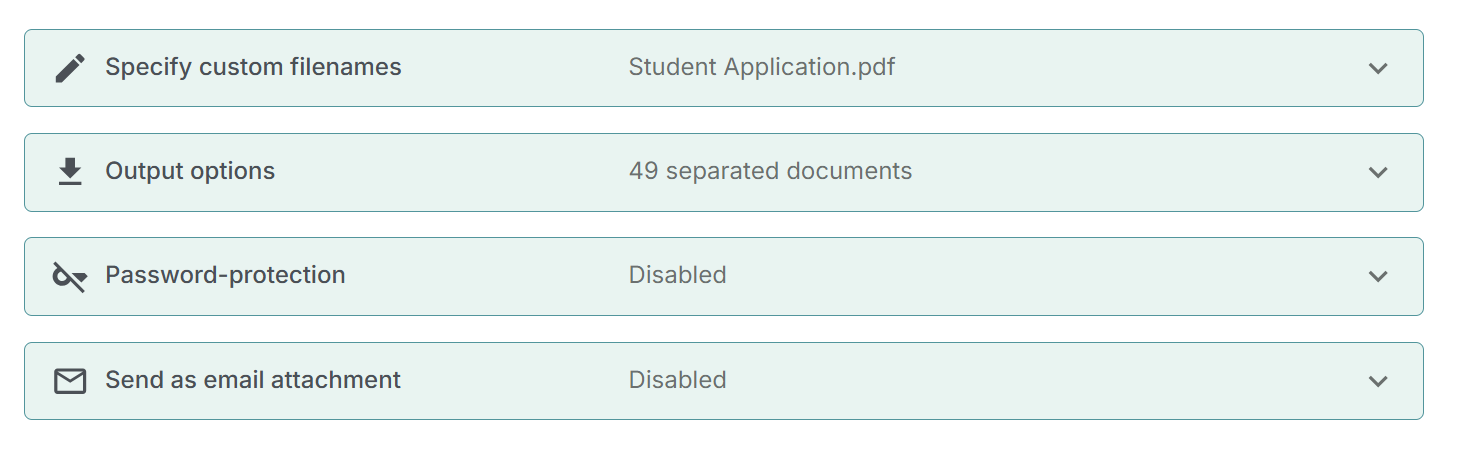
Settings
Here you can customize file names, output options, and your email template. Let’s take a closer look at each setting in detail.
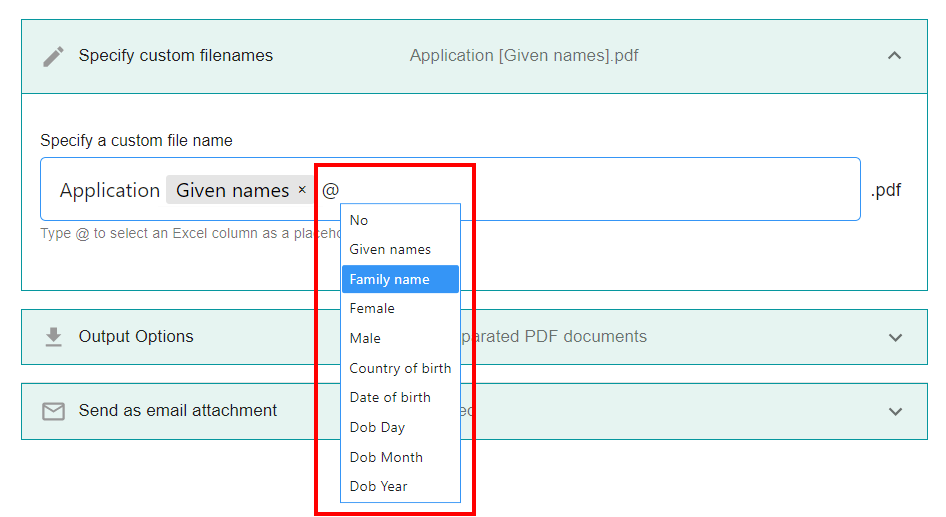
Specify Custom Filenames
In this section, you can set a custom filename for each generated PDF. Use variables to include data from your Excel file: type @ and select the corresponding column from the dropdown. If your Excel has many columns, type the column name after @ to narrow the selection. To remove a placeholder variable, click the x next to it.”
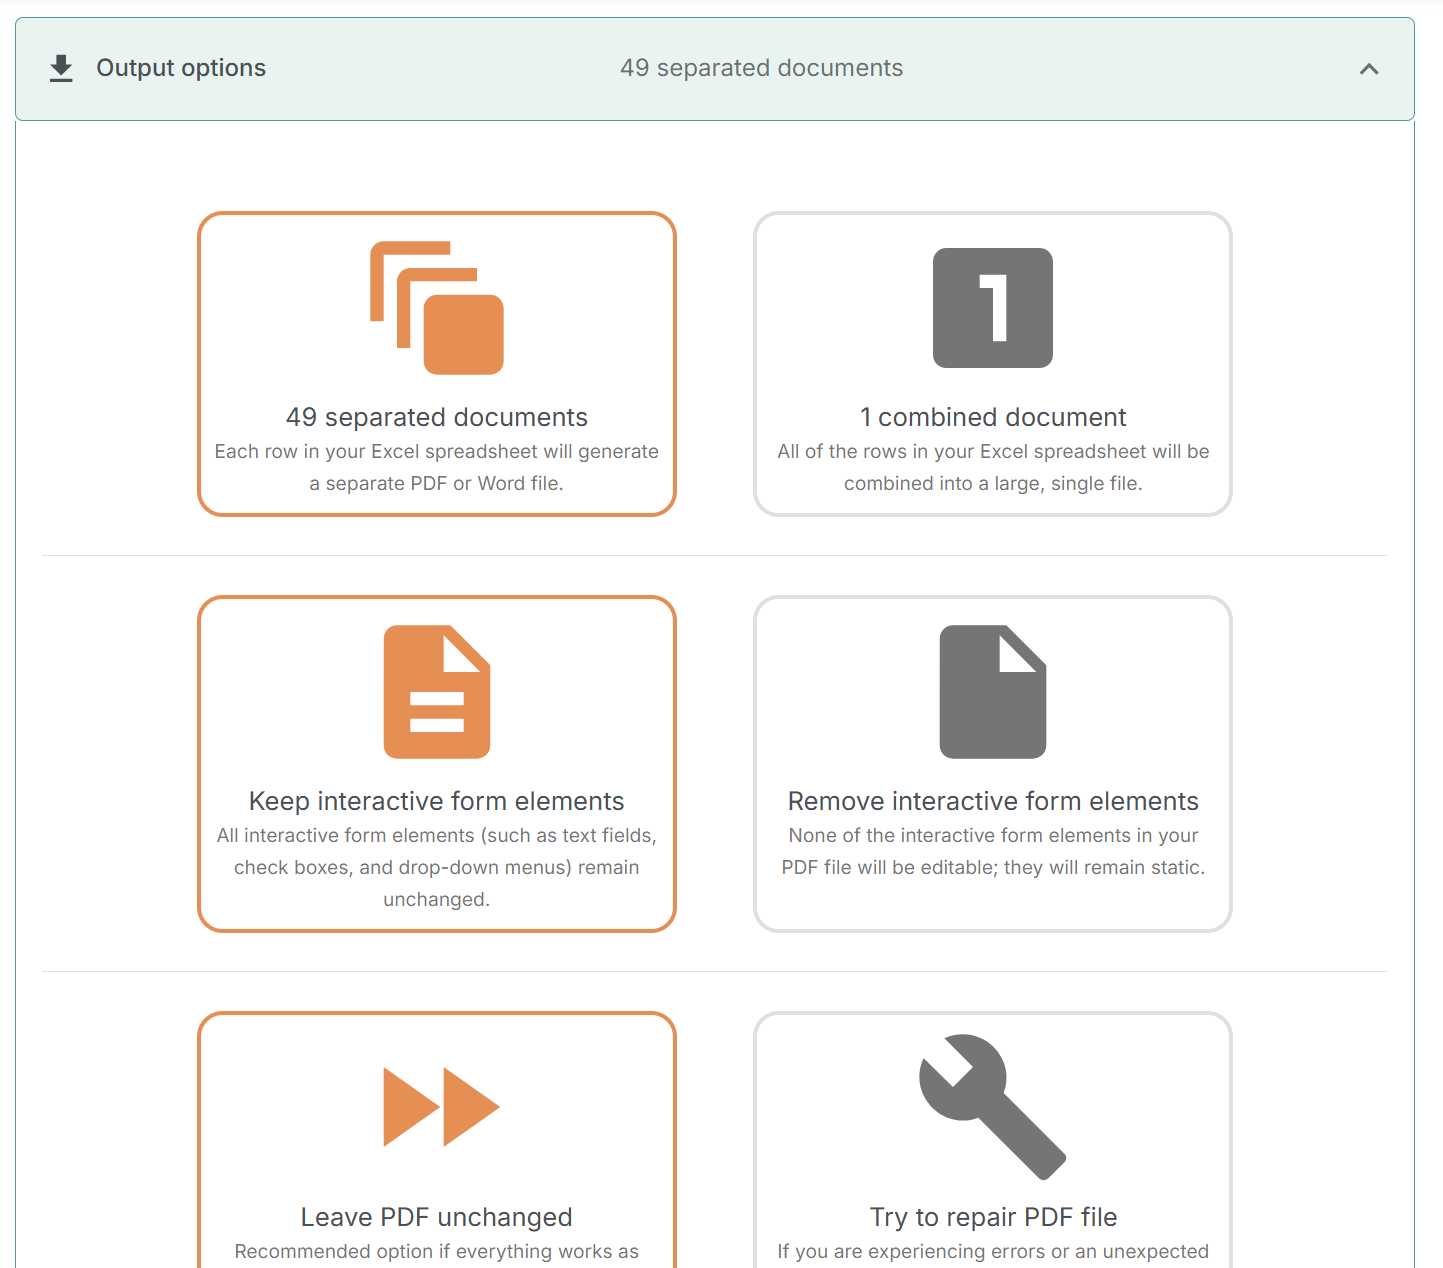
Output Options
Here you can customize how your PDFs are generated. Choose to download each PDF individually or combine them into a single file. You can also decide whether to keep or remove existing interactive form elements, like text fields or radio buttons. If you’re unsure, it’s best to stick with the default settings.
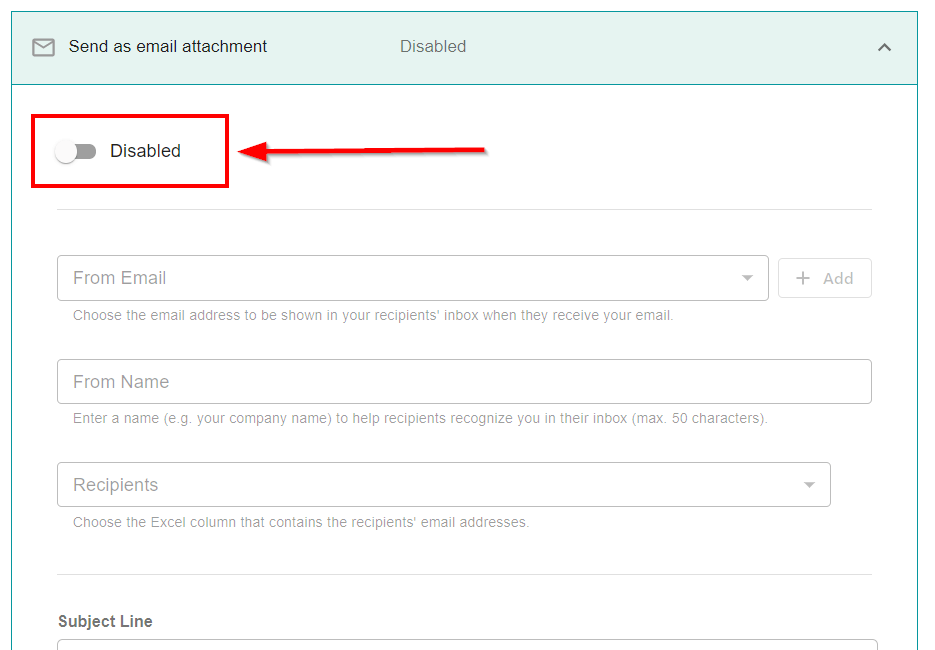
Send as Email Attachment
In this section, you can choose to send your generated PDFs as email attachments to recipients listed in your Excel file. Note: this feature is available only on the Pro and Enterprise plans.
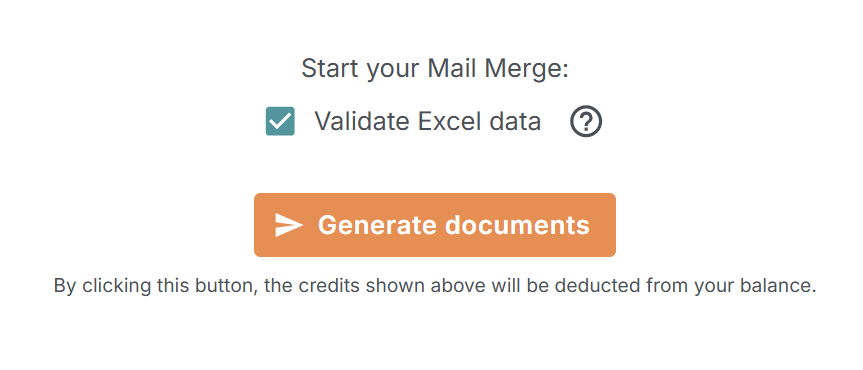
Once everything is ready, click Generate PDF Files to create your personalized PDFs:
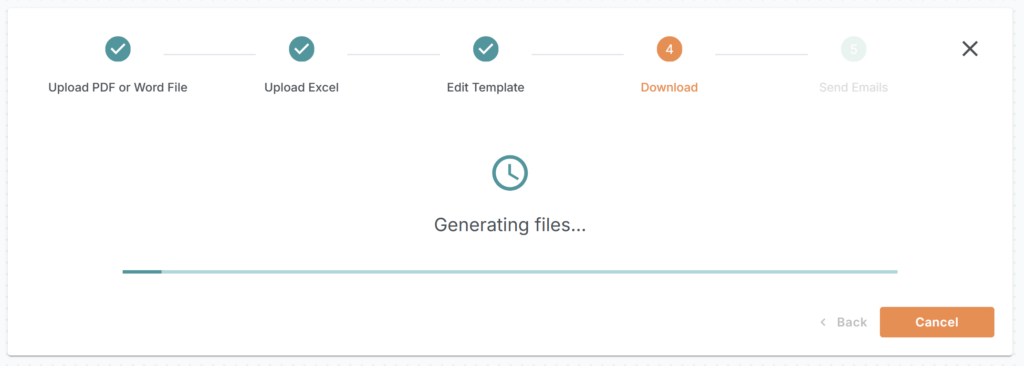
Wait a few moments while the mail merge process completes.
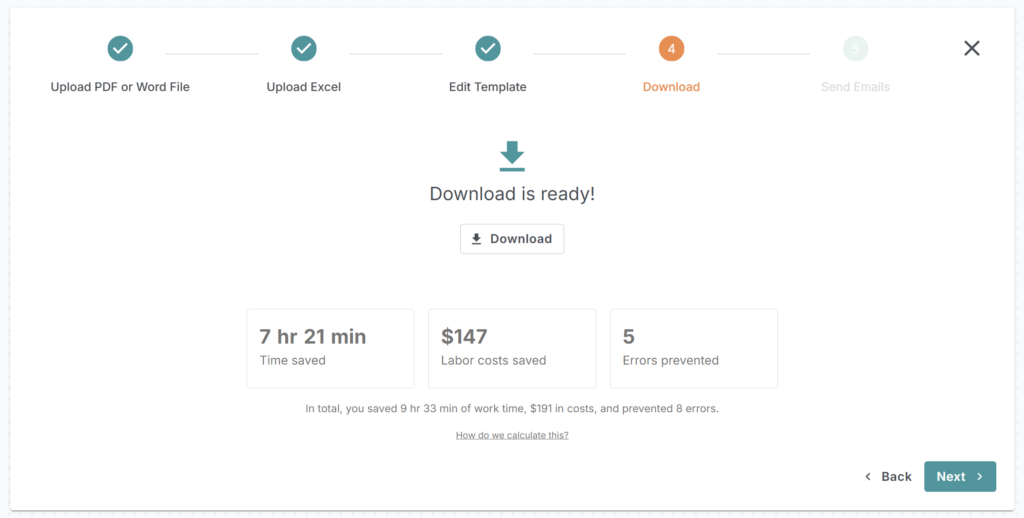
Step #5: Generate and download
Click the Download button to save your completed PDF forms to your computer.
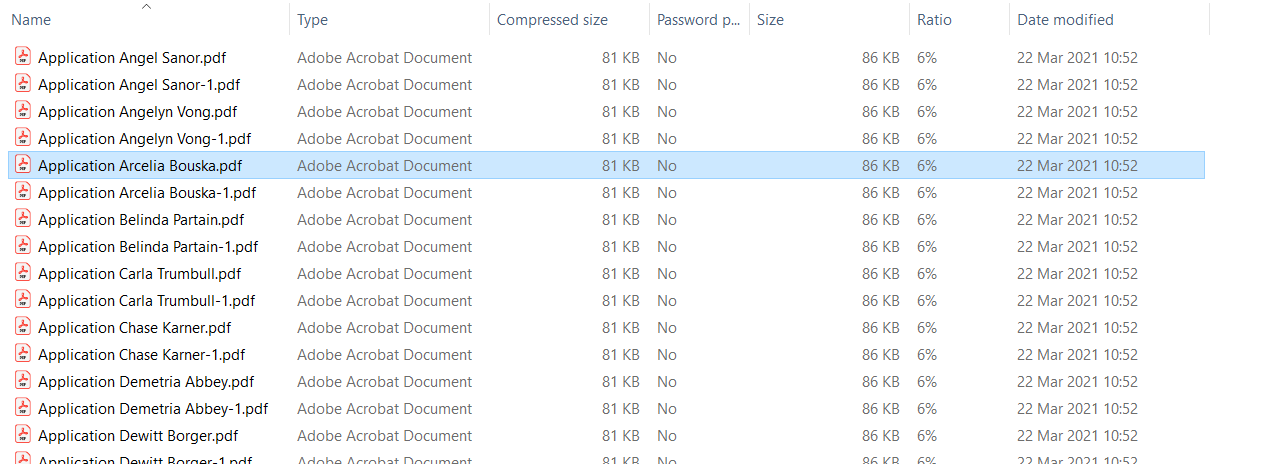
The downloaded ZIP file contains all your PDFs, each automatically filled with data from your Excel sheet.
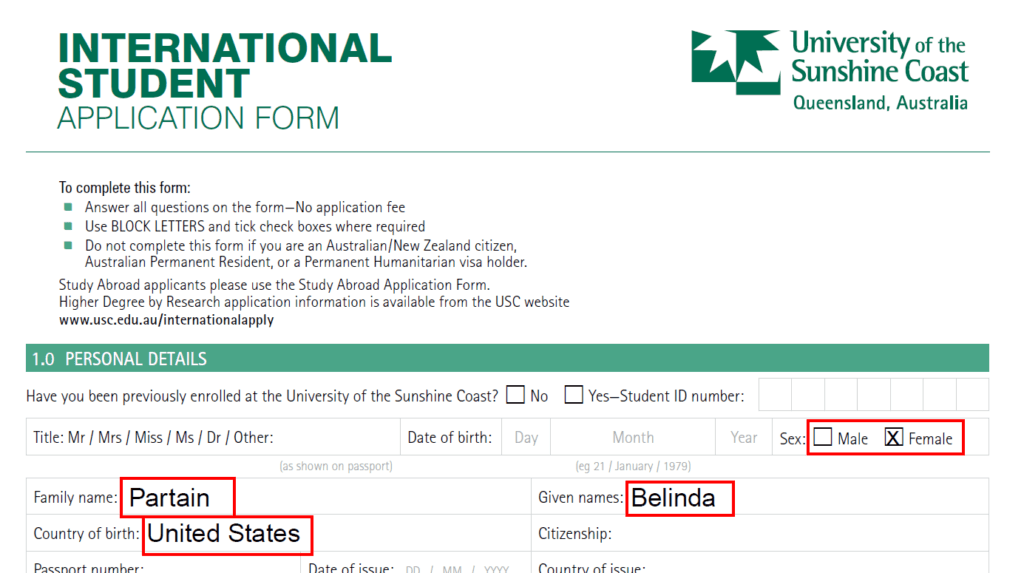
The PDFs are filled with the placeholders you added in the editor. In the screenshot below, the filled placeholders are highlighted in red for clarity.
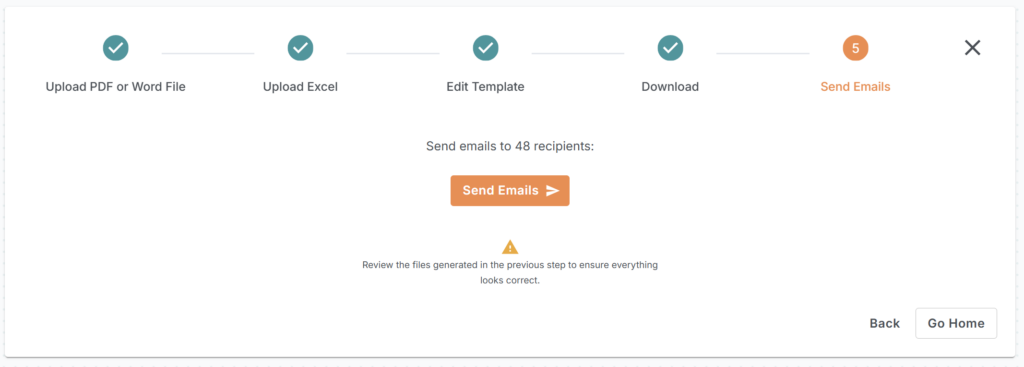
When you’re ready to send the emails, click Next in step 4 of the wizard.
In the final step, click Send Emails to deliver your PDFs to the recipients:
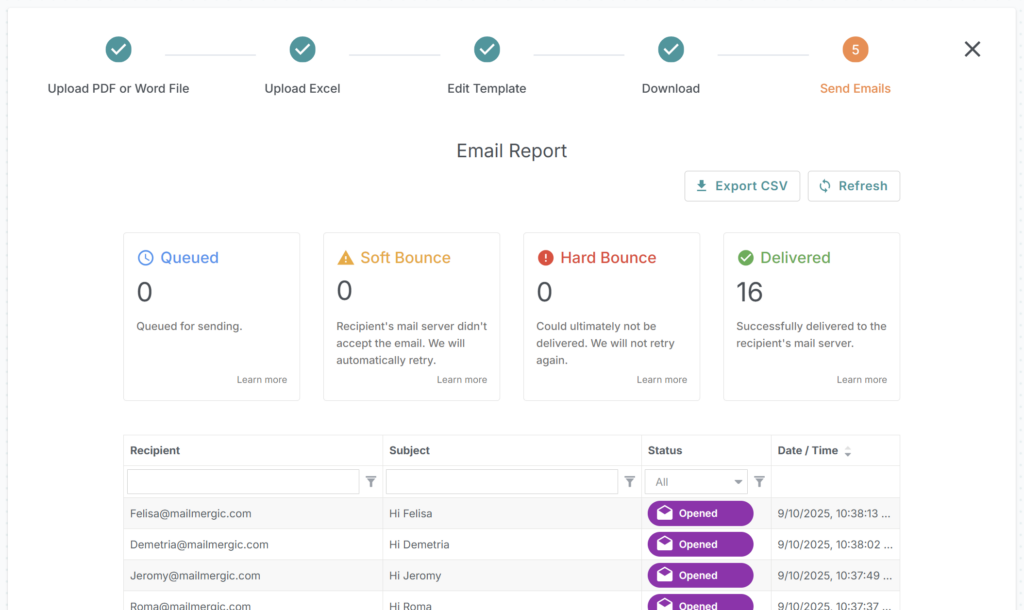
Your emails will be generated and sent to the recipients listed in your Excel file, each with its customized PDF attachment. You can monitor the sending status in the Email Report:
Tips for reliable results
- Use clear column headings like
FirstName,LastName,InvoiceNumber,Email. - Keep each placeholder short and consistent.
- Run a small test with 2–3 rows before processing hundreds of records.
- Use the preview feature to catch layout shifts before you generate all files.
- If you plan to email attachments, verify the
Emailcolumn contains valid addresses.
FAQ
Q: Do I need form fields in the PDF for MailMergic to work?
A: No. MailMergic fills any PDF template whether it contains form fields or not.
Q: Can I apply individual passwords to each generated PDF?
A: Yes! In step 4, you can set unique passwords for each PDF file using variables from your Excel sheet. This ensures each recipient gets a secure, personalized document.
Q: How can I detect errors before generating PDFs?
A: Use MailMergic’s AI-powered Excel check to identify missing or inconsistent data. This feature helps prevent layout issues, blank placeholders, or incorrect values before the mail merge process.
Q: How are credits consumed during a mail merge?
A: One credit is used to generate one PDF for one row in your Excel file. The free plan includes a monthly allowance of free PDFs, with options to upgrade for higher volumes.
Q: Can I send PDFs as email attachments automatically?
A: Absolutely. You can send your generated PDFs to the recipients listed in your Excel file, this feature is available on the Pro and Enterprise plans.
Q: Can I combine all generated PDFs into one file?
A: Yes, under Output Options, you can choose to merge all individual PDFs into a single combined document.
Q: Can placeholders include images, E-Signatures or QR codes?
A: Yes, placeholders aren’t limited to text — you can insert QR codes, E-Signature fields, images, or other supported types for each record.
Q: Can I add e-signature fields to a PDF so my recipients can sign it?
A: Yes! You can add e-signature fields to your PDF templates, allowing each recipient to sign the document digitally after it’s generated.
Q: How do I ensure emails reach all recipients successfully?
A: Double-check that all email addresses in your Excel file are correct. Use the Email Report to track delivery status and identify any failed emails.
Create your free MailMergic account here. If you have any questions, our support team is happy to help — just email us at support@mailmergic.com. Thanks for reading, and happy mail merging!